One of my passions on my ELK Studio Facebook page is to share beautiful projects, and I recently came across this gorgeous jacket.

I can’t link the source of this particular picture but did find a tutorial (graph pattern) and the experience of a fellow crocheter that made the jacket.
At the time I saw the picture, I didn’t have the link and went to Ravelry to see if I could find anything similar. I’ve never taken the time to make anything for myself but that was about to change! The jacket I chose to make is a Drops Design and I love the way it turned out! The pattern was fairly simple to read and understand, and I was able to stay pretty close to the pattern instructions.
I’ll share with you the details of how I made the jacket.
Hook – J
Yarn – Cascade Ultra Pima 100% cotton
Gauge – It said that after completing round 5 the jacket should measure 20 cm. My jacket only measure 18 cm, but I’m not surprised because the suggested yarn is 2 strands of Alpaca and I used one strand of Ultra Pima cotton. I figured I might be okay and could adjust later if I had to, so I kept going.
I had no issues with the jacket until round 13 but thought I should mention Round 12 too.
Round 12: The S/M pattern called for chaining 26, and I did but remember to chain LOOSELY because this is for your armholes! (Yes, I had to do this twice).
Round 13: Here is what it says for this round: ” tr in the first tr, *2 ch, 3 tr in the next tr*, repeat from *-* = 192 tr.”
If I were writing it I would say, “tr in the first tr, *ch 2, skip 2 ch, 3 tr in the next tr.” When I first read the instructions I thought I would tr, ch 2 and 3 tr in the next. It didn’t seem right because i had entirely too many stitches. So when I went back to read it again, I figured out I needed to skip 2 chains as well and chain 2.
The remainder of the body of the jacket worked out fine and I finished it up.
The S/M instructions on the sleeve state:
“Round 1: Crochet 52-60-68 tr around the armhole from the circle and finish with a sl st in the first tr from beg. of round”.
52 is the correct number of S/M jacket, but when I counted the total number of stitches around I came up with 56. I wanted the arm holes to be symmetrical and when you look at the M/L it states 60. PERFECT! There are 28 tr on each side and a chain 3 space on each side. I chained a tr in each tr (28 tr), 2 tr in the side, 28 additional tr and 2 last tr on the side for a total of 60. I think the 52 stitches would have made the sleeves too tight and I liked the way it looked better anyway.
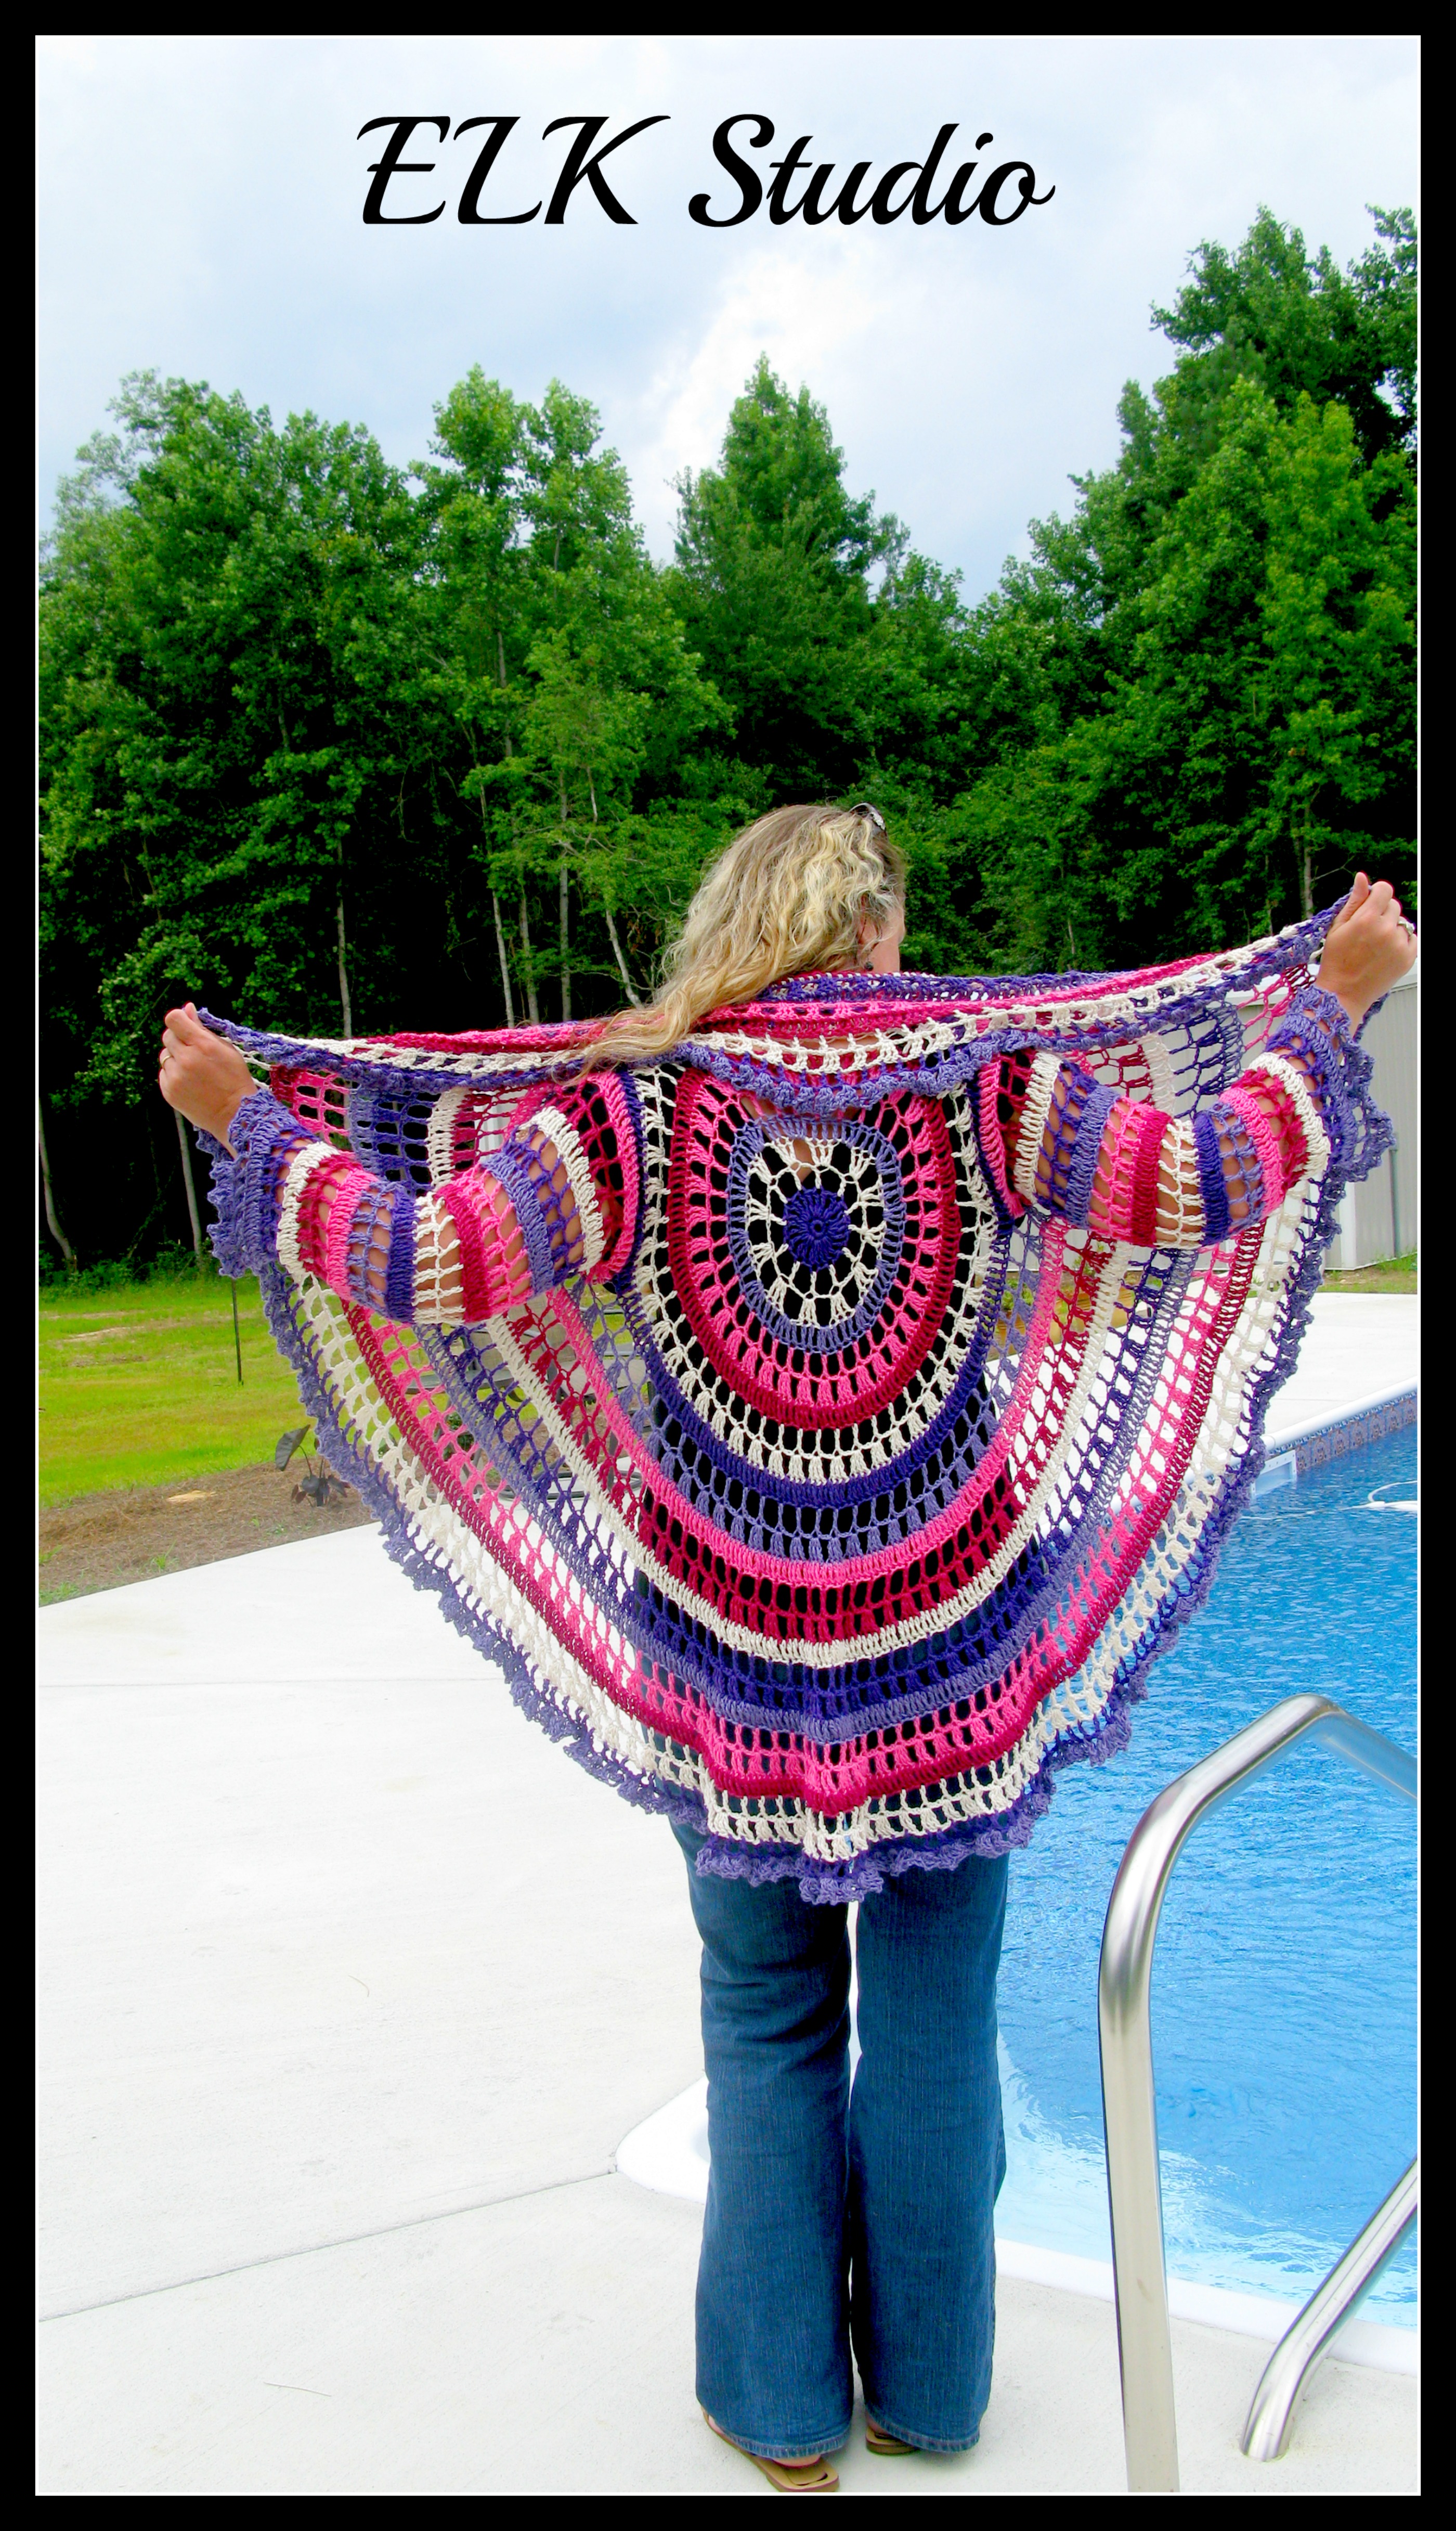
Here’s where I need some suggestions. I haven’t clasped, buttoned or whatever I plan to do to the front of the jacket yet. What do you think? If it were your jacket, how would you join it and what would you use? (Excuse my hound dog, Otis, he was very persistent in trying to capture his moment in fame!)

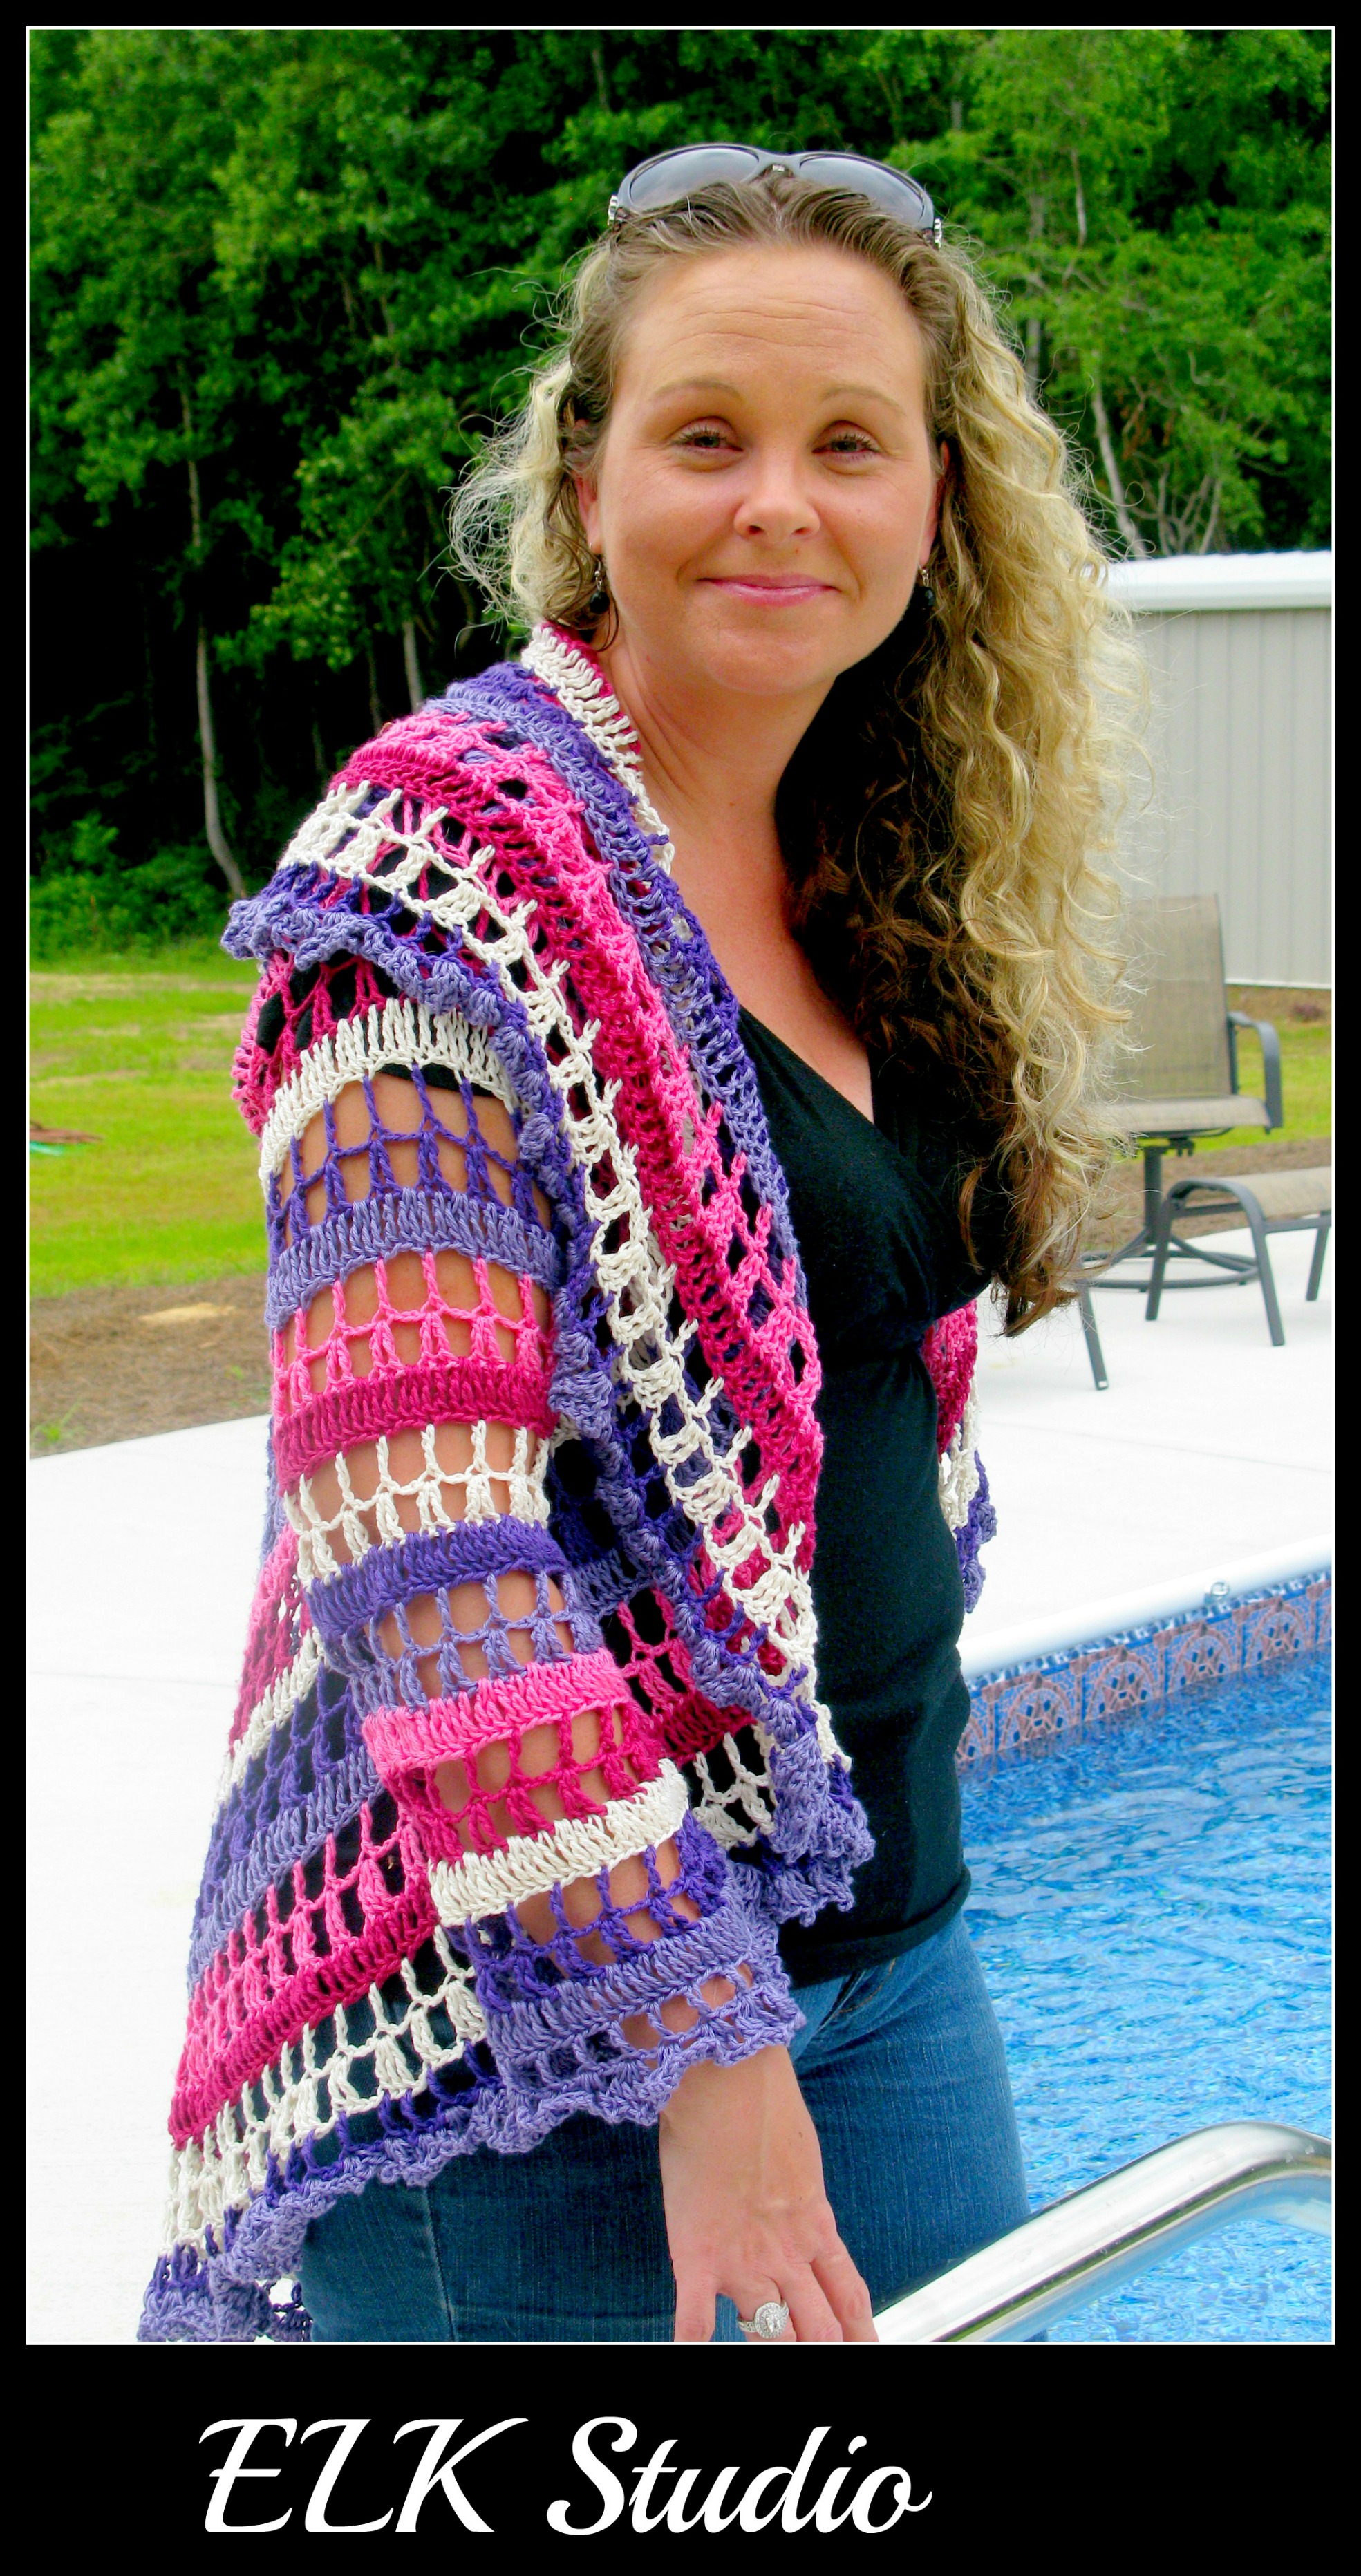
The Drops Design jacket was a total blast to make and I definitely would make it again and recommend it to anyone, even the “young” crocheter could follow these simple directions as long as you know how to do treble stitches.
Here are some more photos of the jacket modeled by my beautiful friend, Carolyn!

I hope everyone has a great evening and God Bless to each of you!
Kathy

